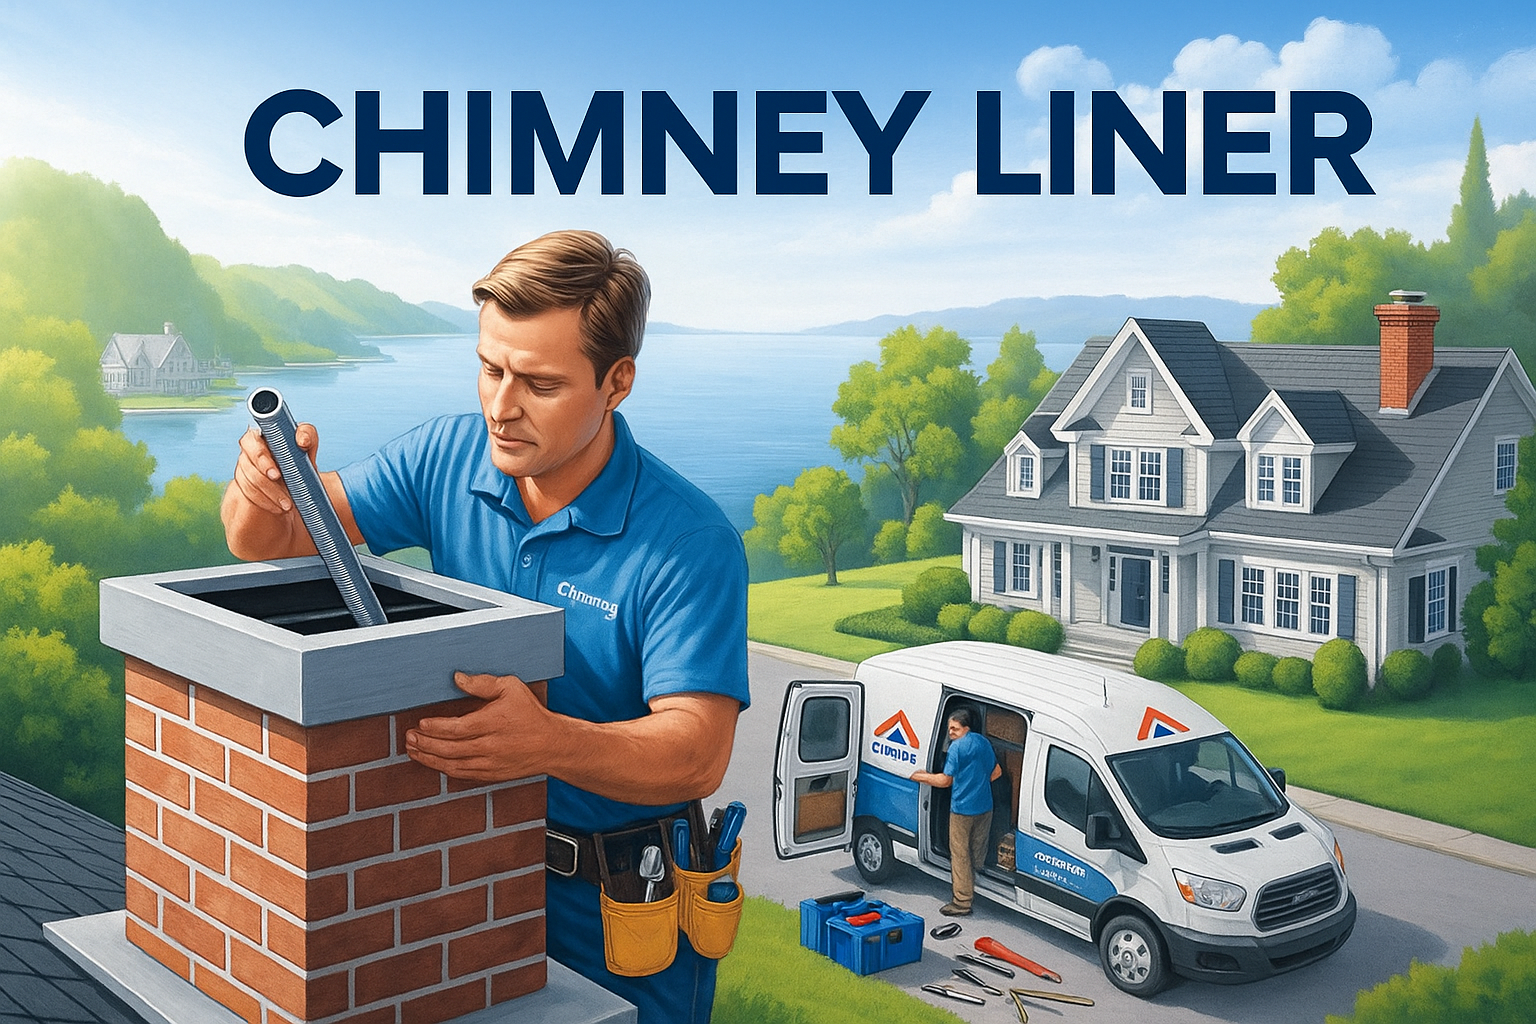
Installing a chimney liner is a vital procedure that ensures your chimney system operates safely and efficiently. Whether you use your fireplace, furnace, or stove, the liner helps protect your home from fire hazards, improves ventilation, and enhances overall appliance performance. Proper installation is key to extending the life of your chimney and reducing long-term maintenance issues. This guide will walk you through how to install a Chimney Liner.
Why It Matters
A chimney liner acts as a protective barrier between the combustion gases and the inner chimney walls. It helps prevent excessive heat from damaging the masonry and stops toxic gases like carbon monoxide from leaking into your home. Additionally, liners improve fuel efficiency and draft, particularly in modern heating systems that require a properly sized flue.
According to the Chimney Safety Institute of America (CSIA), “A properly installed chimney liner is one of the most effective measures you can take to protect your home from chimney-related hazards.”
Common Problems
Improper or deteriorated chimney liners can lead to significant safety issues. These problems include:
- Cracked or crumbling flue tiles
- Water penetration and moisture damage
- Inefficient venting of smoke and gases
- Excessive creosote accumulation
- Carbon monoxide backdraft
Such issues can result in fire hazards, costly repairs, or appliance malfunction. For homes without liners or those using outdated clay tile liners, upgrading to a new system is often necessary to meet building codes and performance standards.
Key Features of a Chimney Liner
The effectiveness of a chimney liner depends on its design and material. Key features to look for include:
- Material Type: Stainless steel is preferred for its durability and resistance to corrosion. Aluminum may be used for certain gas appliances but is not recommended for wood or oil.
- Flexibility: Flexible liners are easier to install in chimneys with bends, while rigid liners offer better draft performance for straight chimneys.
- Insulation: Insulated liners retain heat better, improve draft, and reduce creosote buildup.
- Certification: Always select UL-listed liners that comply with national and local safety codes.
Step-by-Step Installation Process
Installing a chimney liner requires technical knowledge and attention to detail. Below is a structured process used by professionals:
1. Inspect the Chimney
Begin with a thorough inspection of the chimney using a flashlight or inspection camera. Measure the flue’s height and diameter to ensure proper liner sizing.
2. Clean the Flue
Remove soot, debris, and any creosote buildup with a chimney brush. Cleaning is crucial to allow a smooth liner fit and prevent fire hazards.
3. Choose the Liner Kit
Select a complete liner kit suitable for your fuel type and flue dimensions. Stainless steel kits typically include the liner, top plate, cap, and appliance connector.
4. Prepare the Liner
Assemble the liner on the ground, attaching any required fittings. For flexible liners, this may include attaching the cap and connector. Ensure insulation is wrapped or poured as needed.
5. Secure the Top and Bottom
Attach the top plate and rain cap to prevent water intrusion. Connect the bottom of the liner to the heating appliance using the appropriate adapter.
7. Final Sealing and Testing
Seal all joints with heat-resistant sealant. Run a draft test or smoke test to verify that the system vents correctly.
When installing a Residential Chimney Liner, it’s essential to follow National Fire Protection Association (NFPA) standards and local building codes to ensure safety and compliance.
Safety Considerations
Chimney liner installation involves working at heights, handling metal components, and sealing combustible gas pathways. Always wear protective gloves, safety goggles, and use a fall-arrest system when on the roof. Never install a liner without first turning off and cooling all heating appliances. If you’re unsure about any step, consult a certified chimney technician to avoid hazardous mistakes.
Cost Breakdown
Costs vary based on chimney size, liner type, and whether you hire a professional or perform a DIY install. Here’s an estimated pricing breakdown:
| Item | Estimated Cost (USD) |
| Stainless Steel Liner Kit | $300 – $800 |
| Insulation (Wrap or Pour-in) | $100 – $200 |
| Chimney Cleaning Service | $150 – $300 |
| DIY Tools & Supplies | $50 – $100 |
| Professional Labor | $500 – $1,500 |
| Total DIY Installation | $400 – $1,000 |
| Total Professional Installation | $800 – $2,500 |
Disclaimer: These are general estimates. Local labor rates and project complexity may increase total cost. Always request multiple quotes from licensed contractors for accurate pricing.
FAQs
Q1: How long does a chimney liner last?
Stainless steel liners typically last 15–25 years or longer with proper maintenance.
Q2: Can I install a chimney liner myself?
DIY installation is possible but requires specific tools and safety precautions. Professional installation ensures code compliance and proper function.
Q3: Do all chimneys need a liner?
Yes, modern codes require liners in most chimneys, especially when used with wood, oil, or gas appliances.
Q4: What size liner do I need?
The liner must match your appliance flue collar and be appropriately sized for optimal draft. Always refer to appliance manuals and local codes.
Q5: Is insulation mandatory?
Insulation is not legally required in all cases but is highly recommended to improve safety and energy efficiency.
Conclusion
Learning how to install a chimney liner involves understanding its purpose, selecting the correct type, and following proper installation methods. Whether you’re replacing an old liner or installing one for the first time, attention to detail and adherence to safety standards are essential. For best results, always consult with certified professionals if the process exceeds your skill level. A correctly installed chimney liner not only boosts your home’s safety but also enhances heating efficiency and complies with modern building regulations.
For further insights, expert tips, and regional cost guides, explore the following resources:
Chimney Liner in Yelm – Fort Worth 24
How Monsoon Season Affects Chimney Liners in Tucson – Book My Author
How a New Chimney Liner Can Boost Home Value – Tinfo89
Chimney Liner Repair vs. Replacement – Tinfo89
Chimney Liner Installation Cost in Saint Louis – Talvixo

