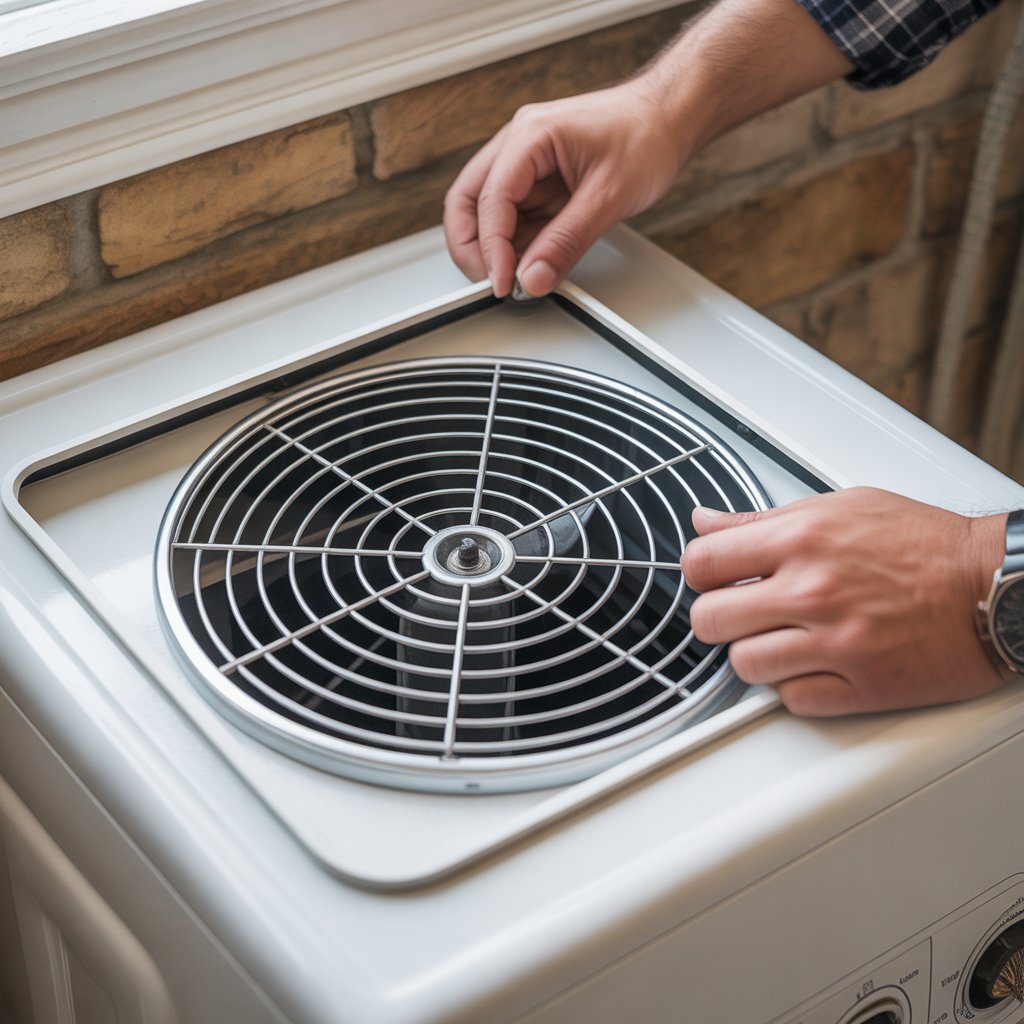
Ever noticed your clothes taking longer to dry or your dryer getting hotter than usual? That’s often a sign lint is building up somewhere it shouldn’t—and sometimes the real culprit is hiding right behind the lint trap cover. The good news is that learning how to remove the dryer lint trap cover is quick and easy, even if you’ve never done it before. Not only can it boost your dryer’s efficiency, but it can also lower energy bills and reduce fire risks. By the end of this guide, you’ll know exactly how to clean it out and when to consider dryer lint trap cover replacement.
Why Removing the Dryer Lint Trap Cover Matters
The lint trap cover isn’t just there for looks—it protects the lint screen from damage and keeps lint from sneaking deeper into the dryer drum. Over time, though, lint can still find its way past the screen and build up around the cover, blocking airflow and forcing your dryer to work harder. That means longer drying times, higher electric bills, and more wear and tear on your appliance. It’s also a safety issue. According to the U.S. Fire Administration, thousands of house fires start in clothes dryers every year due to lint buildup. Regularly removing and cleaning behind this cover helps improve safety, extend your dryer’s lifespan, and keep your laundry routine running smoothly.
Step-by-Step: How to Remove the Dryer Lint Trap Cover
While the exact steps vary depending on your dryer model, the general process is straightforward. Always start by checking your appliance’s manual for any brand-specific instructions.
Step 1: Unplug the dryer – Safety first! Never work on an appliance while it’s connected to power.
Step 2: Locate the lint trap cover – You’ll usually find it either on top of the dryer or inside the door opening.
Step 3: Remove the lint screen – Slide it out gently so you don’t bend or warp the frame.
Step 4: Unscrew or unclip the cover – Use a screwdriver for models with screws or a flat tool to gently pry off snap-on covers.
Step 5: Clean the area – Use a vacuum attachment or lint brush to remove all debris from behind the cover.
Step 6: Reattach the cover – Make sure it’s firmly in place before using your dryer again.
Pro Tip: If you notice cracks, warping, or missing pieces, it’s time to think about replacing the cover entirely. For more appliance repair insights, you might also want to read Pellet Stove Repair in Minneapolis or check out Same Day Garage Door Repair in San Antonio.
When to Consider Dryer Lint Trap Cover Replacement
Cleaning can solve most airflow issues, but if the cover itself is damaged, it won’t protect the lint screen properly. That’s when dryer lint trap cover replacement comes in. The replacement part typically costs between $15 and $50 depending on your brand and model. If you hire a professional, you can expect an additional $50 to $100 in labor costs. It’s a small expense compared to the risks of a poorly functioning dryer. Think of it the same way you would replace worn-out chimney parts—much like choosing the right chimney liner contractor in Minneapolis is essential for safe fireplace use.
Safety and Cost Considerations
Safety should always come first when handling any appliance maintenance. Always unplug the dryer before touching internal components, and consider wearing gloves to protect your hands from sharp edges. If you find heavy lint buildup beyond the trap area, it may be time for a professional dryer vent cleaning, which typically costs between $100 and $150. The small investment in replacing a damaged lint trap cover pays off quickly in better safety, reduced drying times, and lower energy costs. As one experienced dryer repair technician puts it: “A five-minute cleaning can save you from a five-thousand-dollar disaster.”
Extra Tips for a Healthier Dryer
Keeping your dryer running efficiently doesn’t stop at removing the lint trap cover. These small maintenance habits can make a big difference:
- Clean the lint screen after every load.
- Inspect the lint trap area once a month.
- Have your dryer vent professionally cleaned at least once a year.
- Replace damaged or worn-out parts as soon as you notice them.
Much like regular Pellet Stove Repair in Baltimore keeps your heating system working at its best, these steps keep your dryer efficient and safe.
Conclusion
Removing your dryer lint trap cover is a simple task that can dramatically improve your dryer’s efficiency and safety. With just a screwdriver, a few minutes, and the right cleaning tools, you can prevent fire hazards, save money on energy, and extend the life of your appliance. And if cleaning doesn’t solve the issue, investing in a dryer lint trap cover replacement is a cost-effective way to keep your dryer running like new. Whether you’re maintaining your dryer, your chimney, or your heating stove, the principle is the same—prevent problems before they start.
Q1: How often should I clean behind the lint trap cover?
At least once every three months, or more often if you do a lot of laundry.
Q2: Can I remove the lint trap cover without tools?
Some models have snap-on covers that you can remove by hand, but most will require a screwdriver.
Q3: Will removing the lint trap cover void my warranty?
Usually not, but always double-check your dryer’s manual to be sure.
Q4: Is it safe to run the dryer without the lint trap cover?
No. Without it, lint can enter the dryer drum and vent system, increasing the risk of fire.
Q5: Can a clogged lint trap cause my dryer to overheat?
Yes. Restricted airflow causes the dryer to run hotter, which is a major fire hazard.

